Post-Auth RCE and Persistence on UOKOO Security Cameras
Recently, I haven’t been doing much reverse engineering at my day job, so I wanted to start a small side project that incorporates some reversing; security camera VR seemed like the perfect project. To avoid the devastation of finding a n-day, I specifically looked for devices that didn’t have any CVEs. Amazon’s top results for “security cameras” gave me an endless list of devices to pick from, so I chose the first option listed without CVEs, a UOKOO security camera.

Getting User Credentials
The iSmartViewPro app is used to setup the WiFi connection, customize device settings, and flash the most recent firmware update. The instruction manual gives the device’s default credentials: admin as the username and 123456 or 888888 as the password. These credentials are used across all UOKOO cameras, and users aren’t required to change them during setup.
After the device was configured, I nmaped it and saw a server listening on port 80. Lo and behold, it was a HTTP web server prompting for device login credentials. Initially, I was disappointed that this security camera was ignorant of basic security practices, but after a quick glance in Wireshark, I was surprised to find it using digest access authentication (RFC-2617). This authentication scheme hashes the password concatenated with a server provided nonce before sending it over the network to prevent the server from receiving passwords in plaintext, while also mitigating replay attacks. According to the RFC, the authentication is supposed to take place inside a TLS connection to prevent MitM attacks. If a MitM sets the value of the WWW-Authenticate HTTP header in the server’s response to Basic, the user’s credentials will be sent in Base64 encoding which can easily be decoded.
I’m glad that the UOKOO developers at least attempted to secure their login page, as opposed to many of their competitors, even though in reality it wasn’t effective. Between the default credentials and the insecure login page, it’s not too difficult to get the login credentials, which we’ll use later…
Getting a Shell
Before I started reversing, I wanted to get a shell on the device so I could read logs, debug programs, and send files to/from the device. Most IoT devices expose a serial port on the PCB that drops clients directly into a shell, so I thought I should give that a try. When the front cover of the camera is removed, the PCB presents silkscreen labeled UART pads. This saved me a few minutes of prodding around with a multimeter.
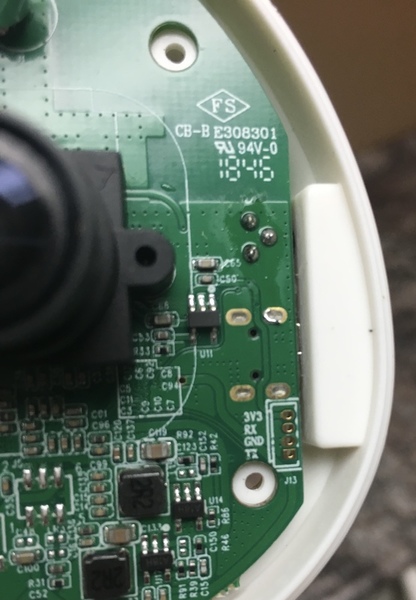
Sorry about the blurry image, I apparently don’t know how to focus an iPhone camera.
After I soldered some wires onto the pads, I used devttys0’s baudrate brute force script to find the 115200 bps baud rate. Once connected, the serial connection dropped me into a root shell—as is tradition.
Attack Surface Enumeration
Using the root shell, netstat -plnt showed me which programs were listening for a remote connection.
Active Internet connections (only servers)
Proto Recv-Q Send-Q Local Address           Foreign Address         State       PID/Program name
tcp        0      0 0.0.0.0:65531           0.0.0.0:*               LISTEN      360/FWUpdateSvr
tcp        0      0 127.0.0.1:10080         0.0.0.0:*               LISTEN      407/hyrtspd
tcp        0      0 0.0.0.0:554             0.0.0.0:*               LISTEN      407/hyrtspd
tcp        0      0 0.0.0.0:80              0.0.0.0:*               LISTEN      407/hyrtspd
As you can see, our attack surface was rather small because it’s a pretty dumb device. Both processes had obvious roles, given their names: FWUpdateSvr is the firmware update server and hyrtspd is a RTSP daemon. If you look closely, the hyrtspd program is listening on port 80, which means it’s also the HTTP server we looked at earlier.
Firmware Update Protocol
I decided to reverse engineer the firmware update server’s update protocol before the RTSP daemon because I knew it would parse a significant amount of unsanitized data. There are two different ways to approach this:
1) Reverse the iSmartViewPro Android app’s firmware update functionality
2) Reverse the server-side firmware update parsing and create your own update from scratch
Reversing the Android app sounded super boring because I wanted to reverse some native code, not decompiled Java bytecode. If I wanted a PoC ASAP, I would have opted for the app reversing but this project is all about having fun.
The update servers is a small 15 kB stripped C++ program written by the developer that goes by the alias PETER.PAN, according to the startup banner.

As shown in the netstat output, the server listens on port 65531 for the authentication message.
struct uokoo_firmware_update_authentication_message
{
    unsigned char unknown[4];
    unsigned char username[32];
    unsigned char password[32];
};
The username and password are send in plaintext, which means a passive MitM can get the credentials. Now we have three vectors to expose login credentials:
1) Use the default username and password
2) MitM the login request
3) Passively MitM a firmware update
When the server accepts a connection, it immediately creates a CDBManager object (implemented in the libdbmanager.so library) which opens a connection to the /var/db/ipcsys.db SQLite database. It then calls the CDBManager’s QryUserInfoFromDBByID method which executes the follow SQL query:
SELECT C_UserName, c_role_id, C_PassWord, c_role_name FROM v_user_role_detail WHERE C_UserID=%d
The C_UserID field is set to 10001, which is the user ID of the admin user. The QryUserInfoFromDBByID method returns a response in an USERINFOQRY structure:
struct USERINFOQRY
{
    uint32_t user_id;   // Not set in this query
    uint64_t role_id;   // From the c_role_id field
    char username[32];  // From the C_UserName field
    char password[32];  // From the C_PassWord field
    uint32_t role_name; // From the c_role_name field
};
The server strcmp compares the username and password fields from the firmware update’s authentication messages with the C_UserID and C_PassWord credentials from the database.

If both usernames and passwords match, the client is authenticated and the server returns HY01 to denote successful authentication. The client then sends the firmware update header.
// Bit mask for the firmware update header's update flag
#define UPDATE_USER_BIN_AND_DB 1
#define UPDATE_KERNEL          2
#define UPDATE_ROOT_FS         4
#define BACKUP_IPC_SYS_DB      8

struct uokoo_firmware_update_header
{
    unsigned char update_type[4];
    unsigned char crc[4];
    unsigned char compressed_update_size[4];
    unsigned char decompressed_update_size[4];
    unsigned char update_flag;
    unsigned char update_type_number;
    unsigned char padding;
    unsigned char hardware_version[2];
    unsigned char padding[27];
};
The firmware update type is either HY01 or HY02. The HY01 type skips the hardware version check while the HY02 rejects updates that do not match the current firmware’s hardware version.
The CRC field is logged server-side but never checked so it can be ignored.
The update sizes are used to determine if the device has enough storage to apply the update. The server calls statfs on /mnt/mtd/ to determine the amount of free space it has. It then compares the amount of free space to the update header’s decompressed update size. If there’s not enough space left on the device, it rejects the update. I’d strongly recommend not fudging the decompressed update size because it could brick the device.
The update flag is a bit field representing what parts of the device the firmware update will apply to.
UPDATE_USER_BIN_AND_DB: Updates theuser.binandmtd_db.binby flashing/var/user/user.binto/dev/mtd3,/var/user/mtd_db.binto/dev/mtd4, and/var/user/mtd_dbback.binto/dev/mtd5.UPDATE_KERNEL: Updates the kernel by flashing/var/kernel/kernel.binto/dev/mtd1.UPDATE_ROOT_FS: Updates therootfsby flashing/var/rootfs/rootfs.binto/dev/mtd2.BACKUP_IPC_SYS_DB: Creates a backup of the device’s/var/ipcsys.dbdatabase in/mnt/mtd/dbback. All other modifications are ignored.
As I mentioned earlier, the hardware version is only checked if the update type is HY02. The hardware version can be seen from the device’s web interface in Set Up -> About -> System Firmware.
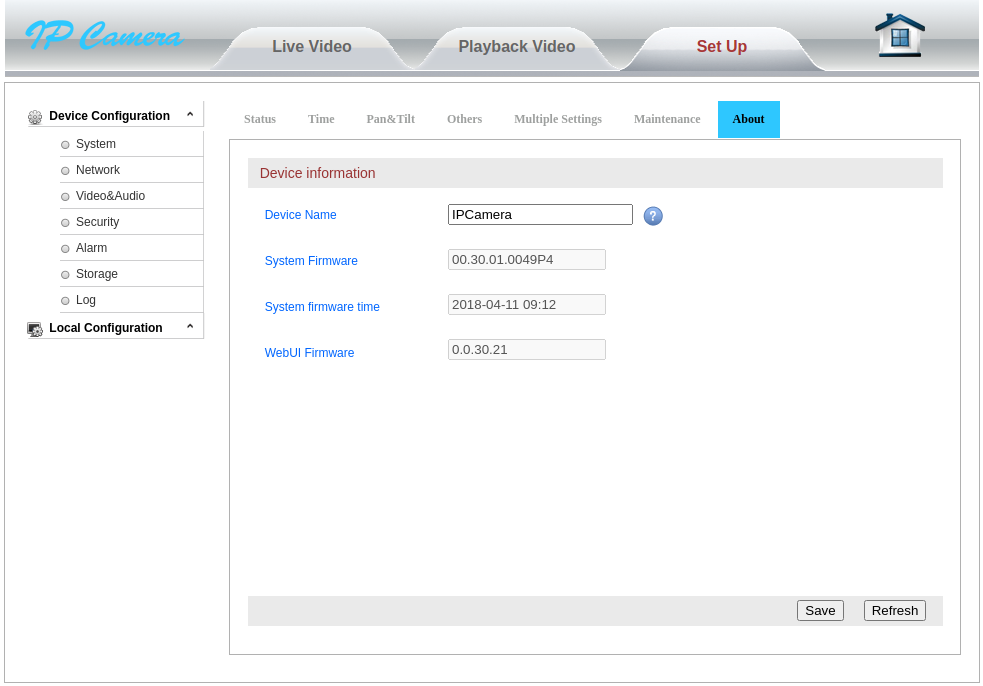
The hardware version is between the first and second period. For example, in the image above the firmware version is 00.30.01.0049P4 so the hardware version would be the ASCII value 30. This firmware version is stored on the device in /mnt/mtd/etc/ipcversion.
After the header is validated, the server responds with HY01. It then starts reading the firmware update in 0x400 byte chunks to /var/tmp_update.zip. The firmware update is expected to be in zip format, which is later unzipped in the root directory.

If we send a firmware update that passes all the firmware update server’s checks, we get an arbitrary file write primitive! After the update server applies all updates, it reboots the device. The following snippet shows the server logs of a successful update, before rebooting, with the firmware upgrade zip containing pwn.txt.
RCE and Persistence
The easiest way to achieve RCE in this situation is to overwrite a file that later gets executed. Before we start looking for an executable to target, we need to know which filesystems are mounted with write permissions.
[root@GM]# mount
rootfs on / type rootfs (rw)
/dev/root on / type squashfs (ro,relatime)
tmpfs on /dev type tmpfs (rw,relatime,mode=755)
tmpfs on /tmp type tmpfs (rw,relatime,mode=777)
tmpfs on /var type tmpfs (rw,relatime,mode=755)
tmpfs on /bin type tmpfs (rw,relatime,mode=755)
tmpfs on /usr type tmpfs (rw,relatime,mode=755)
tmpfs on /sbin type tmpfs (rw,relatime,mode=755)
/dev/sys on /sys type sysfs (rw,relatime)
none on /proc type proc (rw,relatime)
devpts on /dev/pts type devpts (rw,relatime,mode=600,ptmxmode=000)
tmpfs on /dev/shm type tmpfs (rw,relatime,size=49152k)
/dev/mtdblock3 on /mnt/mtd type jffs2 (rw,relatime)
/dev/mtdblock4 on /mnt/mtd/db type jffs2 (rw,relatime)
/dev/mtdblock5 on /mnt/mtd/dbback type jffs2 (rw,relatime)
tmpfs on /etc type tmpfs (rw,relatime,mode=755)
Additionally, the file must be written to a filesystem that persists reboots because the device is rebooted immediately after the firmware update. Since the root directory is read-only and the tmpfs directories do not persist, our scope was limited to executables in the jffs2 directories. Initially, the vg_boot.sh script was an appealing target because it persisted modification and executed on boot. The downside was that it contained commands that were specific to the device model which would make porting the exploit a pain. I kept searching and eventually found the absolute best-case scenario in the middle of the /mnt/mtd/etc/start.sh script.
filelist=`ls /mnt/mtd/etc/app`
for file in $filelist
do
 chmod +x /mnt/mtd/etc/app/$file
 /bin/sh /mnt/mtd/etc/app/$file &
done
It executes every file in /mnt/mtd/etc/app/ on boot, which is a directory that is writable and persists reboots! The full exploit chain would follow the steps:
1) Create a zip file with our executable payload in /mntd/mtd/etc/app/
2) Use the default or exposed credentials to send the zip file as a firmware update
3) Wait for the firmware update server to reboot the device
4) /mnt/mtd/etc/start.sh gets executed on boot which then executes every file in /mnt/mtd/etc/app, including our payload!
I’ve released the exploit here on GitHub which sends a firmware update that writes dropbear to /mnt/mtd/etc/ and give us remote persistent access to the camera.
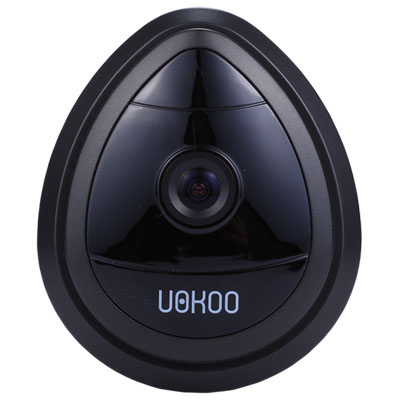
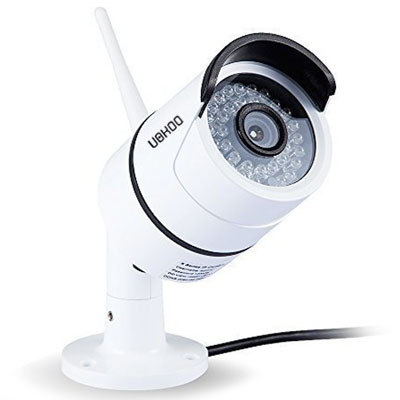
Supported Devices
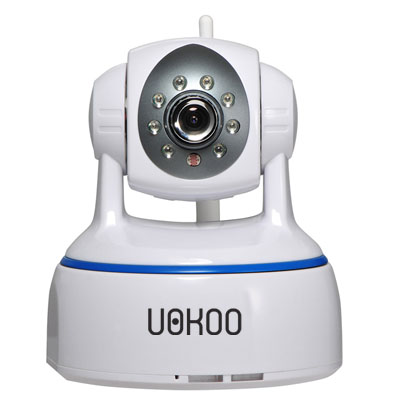
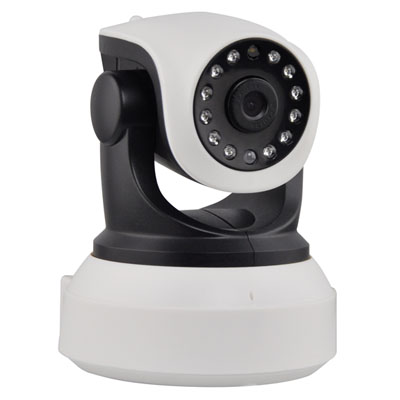
Unsupported Devices

Security Recommendations
1) Use a TLS connection between the client and server
2) Cryptographically sign the firmware updates and verify them before applying the update
3) Create device specific default credentials or force users to change the password after initial configuration